Monday 5 May 2014

Packaging the wigs up!

Today is the last day before hand-in and I'm trying to package the wigs in a way that looks really professional but still within my tight budget.

 I'd already purchased some boxes online that I've now painted black, I originally was going to have one wig per box but on inspection the boxes are plenty big enough for two wigs and this will enable two collections (Beauty and the Beast and The Ugly Duckling) to have their own box, which should be nice and organised. This way I can also get the boxes in my car, coming from Bournemouth with a wig per box I'm not sure they all would have fit in my car in one go, which could have been a tricky/stressful journey to hand-in. 


I've made tag labels with my logo on and on the reverse is my name and the collection name. Due to the size of the tag the collection name is quite small, but I have chosen to have it small rather than black so the branding on the labels is the same as that of the website and so the whole thing will match throughout, and I've used purple wool/string instead of the cream tag cord so the whole box is co-ordinated.


Inside the box I have bought black tissue paper and bubble wrap, this should save the wigs from getting damaged in transport. I chose black as a background colour as I feel this would best show off the wigs, than any other colour. I did consider white, but thought the boxes would look cheaper and this colour could dirty easily/get marks on. Also white would not look as professional or show off the wigs as well as black. 

I was hoping to purchase some mannequin heads to display my wigs on as I thought this would be more professional looking, however, the most reasonably heads I could find were £4 each and they were white polystyrene, this would have been an added cost of £48+ delivery and I just don't have the money to do that. If I had an unlimited budget I would have liked to have displayed the wigs on black mannequin heads, perhaps ones with long necks such as some I've seen on morplan.com, I believe the hair would look really good on these and this particular mannequin is said to be good for longer hair,

 however it looks quite female so maybe a unisex equivalent or something like the black polystyrene unisex head from morplan.com.


I HAVENT BEEN ABLE TO LINK MY SITE SO UPSETTING BUT I APPEAR TO BE OUT OF TIME I will continue to discover how to link my site and I will do this!! just may have to wait til after my hand in now as I've heard even after figuring out how to link the site it will take a few days to cross over...

Tuesday 29 April 2014

Website and logo Making!!

Today I made my 4ormat website and had stressful times with figuring out domain names!! I finally got one for £15 off 123-reg, I'm sure if I'd known what to do this would have been much easier....I'm yet to link it to the site I've made to the domain, but I will! I'm not giving up that easily.


Really pleased with the site! which currently opperates under the name: maisiewebbwigs.4ormat.com

Such good value and really makes the work look slick and professional!

whilst doing this I knew I wanted to use my logos I'd previously made but they needed tweaking a little to fit the web space better.

Below are the heading I made for each collection and the new circular logo woooooo:


Monday 28 April 2014

The Ugly Duckling Take Two

Today I had a second shoot for The Ugly Duckling, not quite satisfied with the pictures the first time round....


Swan shoot:
Wig artist: Maisie Webb
Makeup artist: Maisie Webb
Styling: Maisie Webb and Charlotte Macey
Photographer: Charlotte Macey

Duckling shoot:
Wig artist: Maisie Webb
Makeup artist: Maisie Webb
Styling: Maisie Webb
Photographer: Maisie Webb

Wednesday 23 April 2014

The Ugly Duckling Photoshoot

Today I had my shoot for the Ugly Duckling and swan wigs! here's a sneaky peak:
 

Unfortunately today we had massive wobble with models not turning up for the swan shoot, In the end I stepped in a modelled for my own shoot, which was fine and I'm overall pleased with the images I'm just a bit disappointed it happened as we ran out of time shooting the 'swan' wig, just as the petals etc, started to happen, also because I was now modelling I had to call upon Charlotte Macey to help with the Photography, maybe it could be said time management could have been better on the shoot to enable each wig had an equal amount of time under the spot light? But overall I'm pleased with the results considering.

For the swan shoot:
Wig artist: Maisie Webb
Makeup Artist: Maisie Webb
Stylists: Maisie Webb, Rachael Corri and Chantelle Macey
Photographer: Charlotte Macey
Model: Maisie Webb 

For the Duckling shoot:
Wig artist: Maisie Webb
Makeup Artist: Charlotte Macey
Stylist: Maisie Webb
Photographer: Maisie Webb 
Model: Rachael Corri


Sunday 20 April 2014

Ugly Duckling Crafting


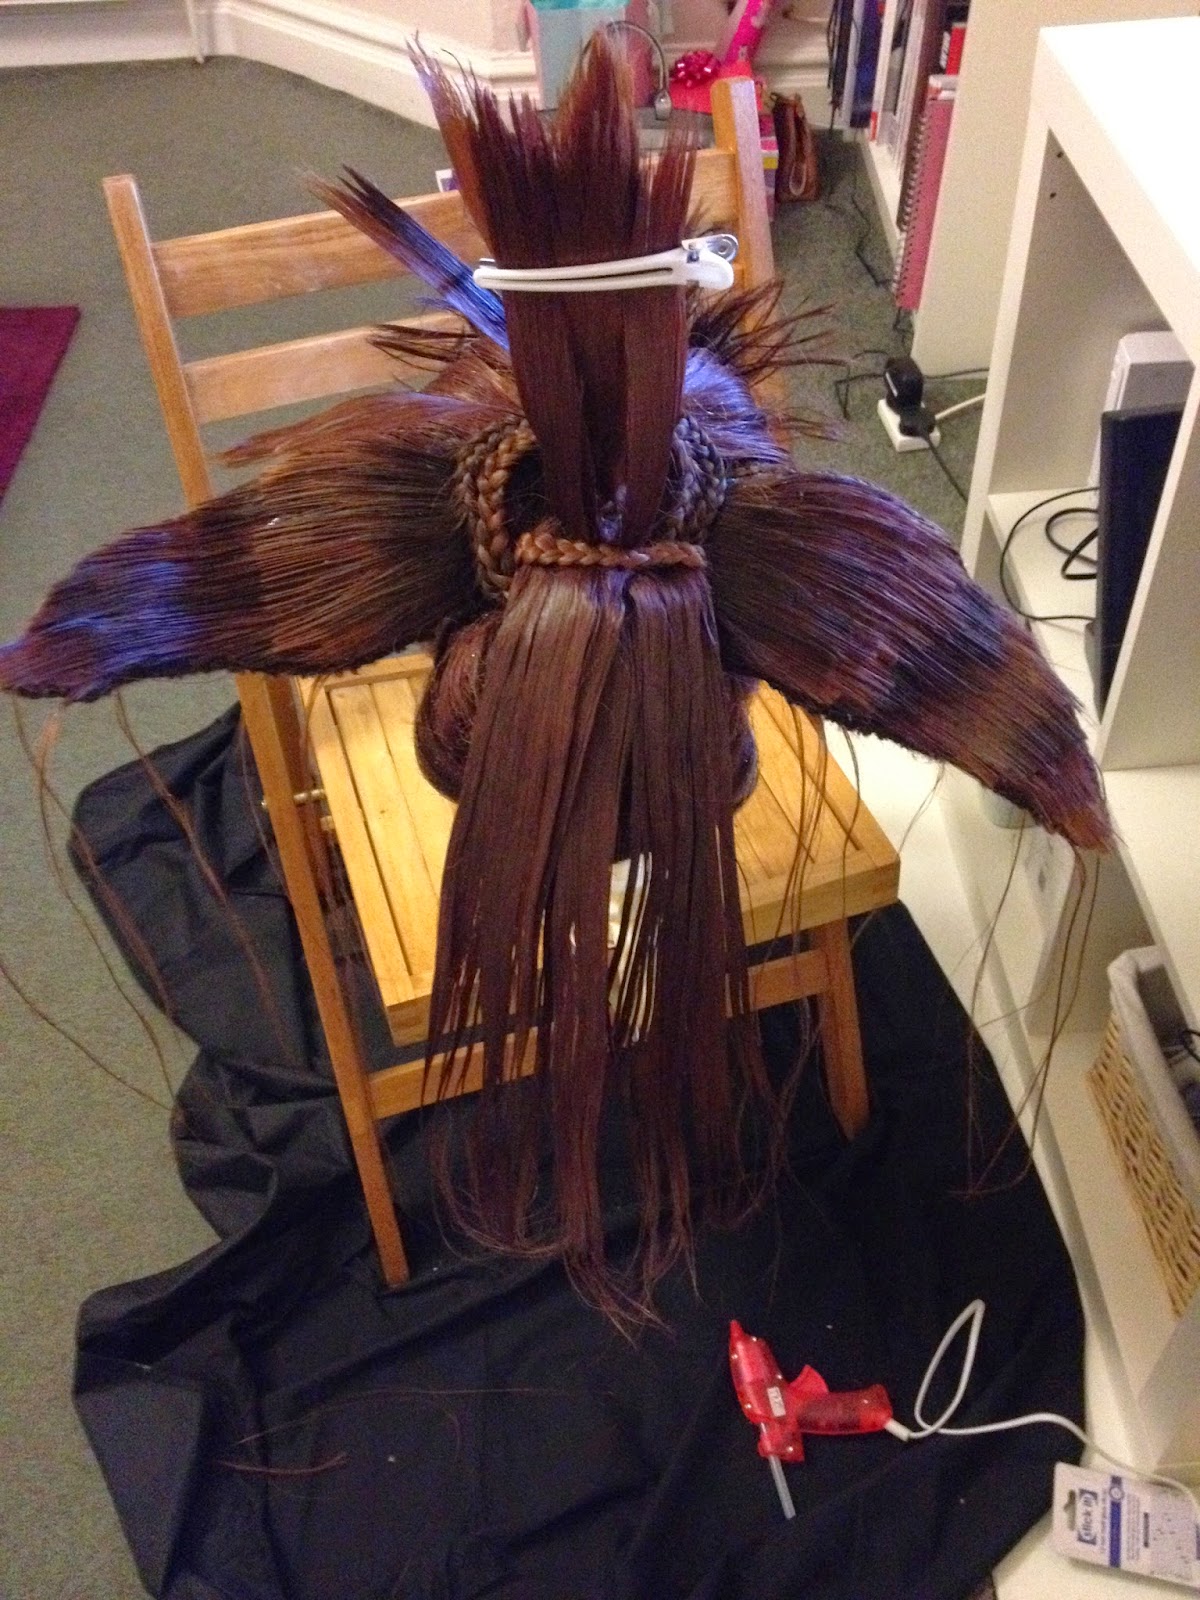
It's taken me alllllllllll.... weekend but I've finally finished this ugly duckling wig! loving the wings, I feel pleased I've successfully managed to cross many styles and techniques. 
Last. Wig. Made. 

I definitely feel my wigs have gotten stronger as I've progressed along this FMP journey, just want to make more to show I can do better but unfortunately times running out....

Thursday 10 April 2014

Swan making continued...


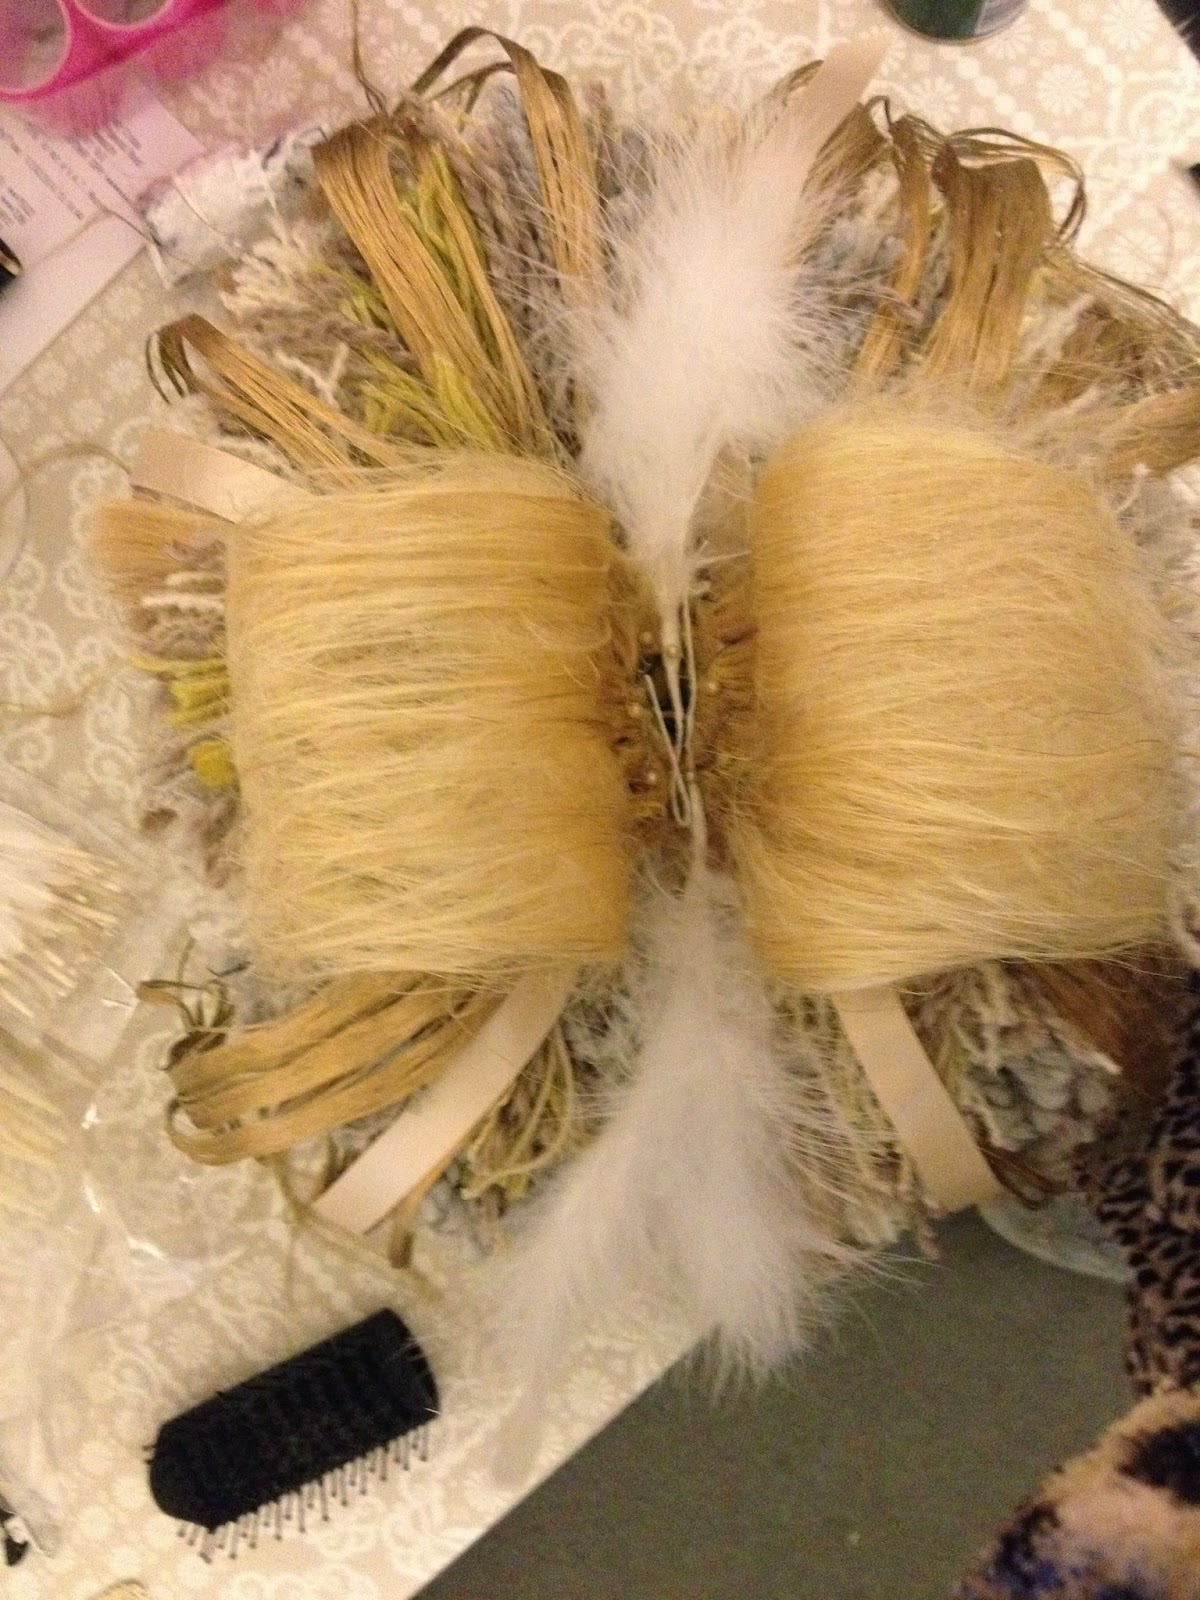
This wig is the one with the most 'arts and crafts' feel, made with a mix of yarns into a giant pompom, human hair, (donated blonde hair extensions by Charlotte Macey), feathers, gold/tiny pearl wedding decorations and ribbon from Hobbycraft, gold hairspray, florist foam, wire and elastic from The Range.


Swan Wig!

Today I began making the 'Swan' wig for the ugly duckling series!!

 As I've always said I wanted to use unexpected wig materials, so as well as hair I've used wool to create one massive pompom!!

I wanted to blend the wools to give a more natural and 3-dimensional feel to the wig, I felt if it was just one plain colour it may look a bit flat?! This way I'm seeing more depth...