Friday 28 February 2014

Wig Workshop 2:


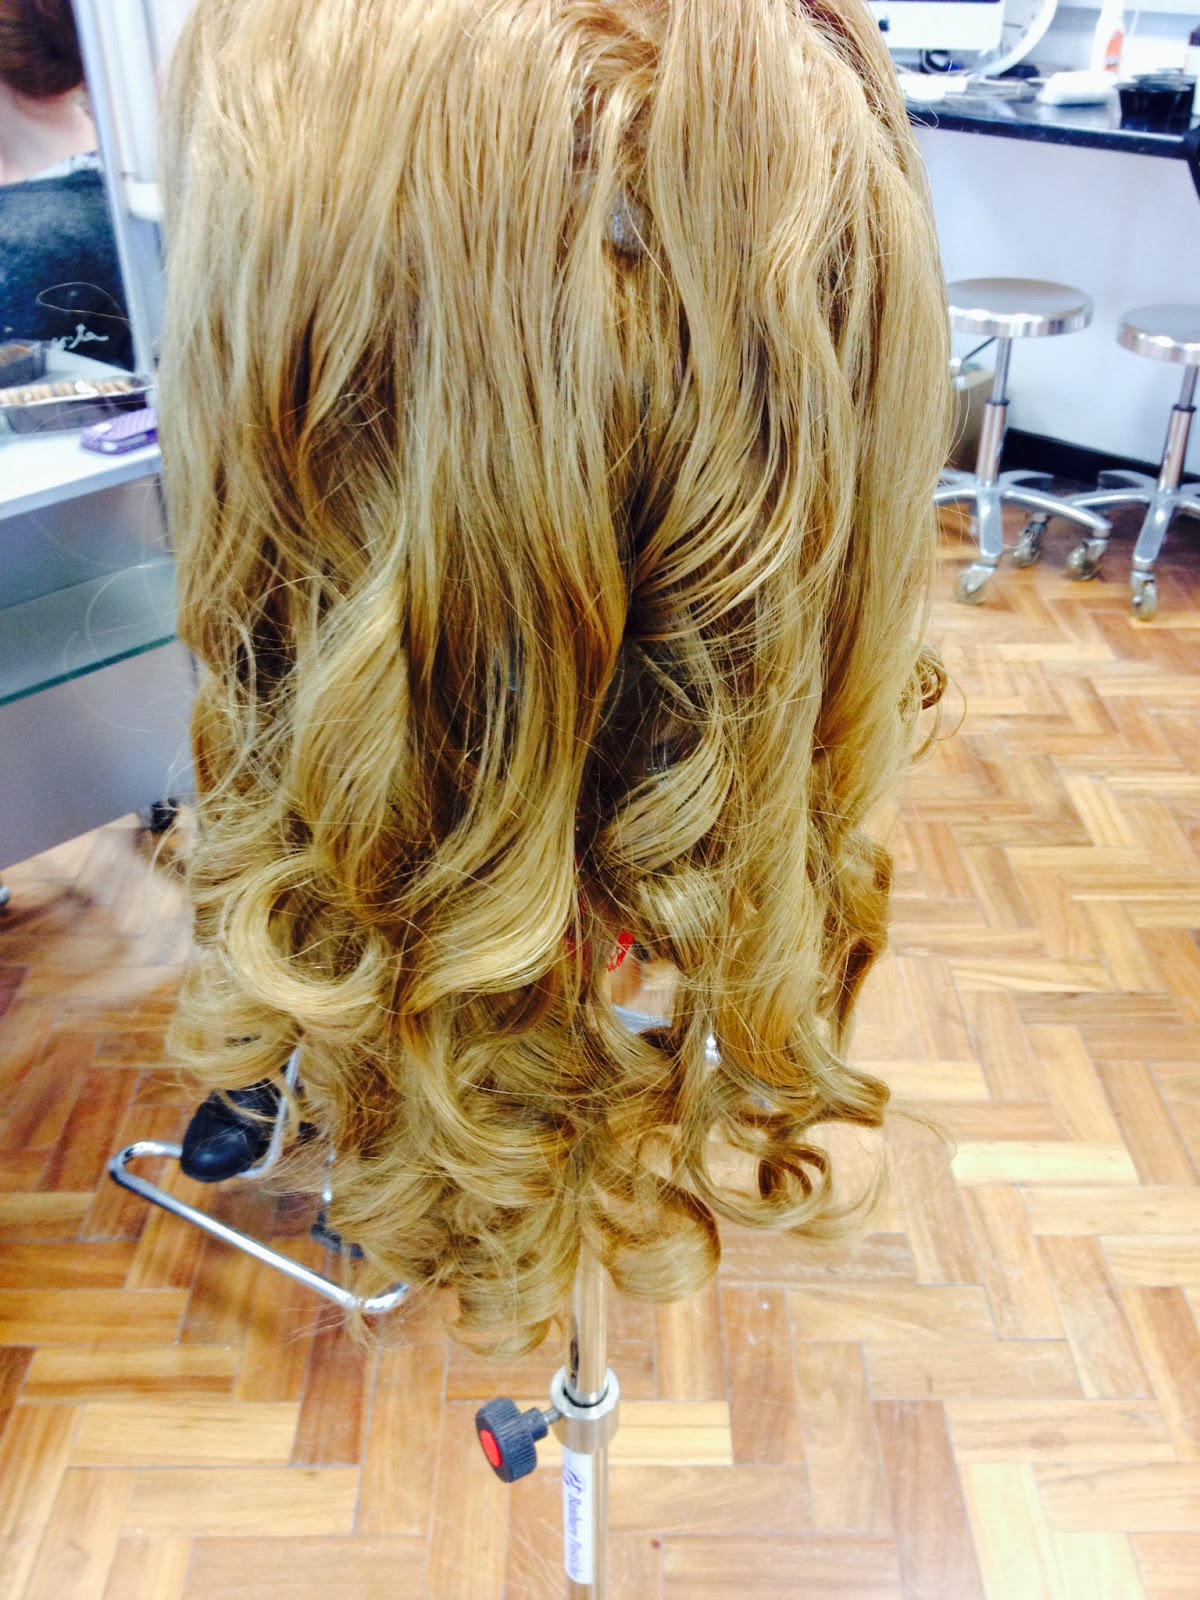
Today I had the second out of two wig workshops. After previously setting the hair in the wig oven, we were able to decide on a style and get creating. I decided to go for a swirly wedding hair design. Firstly I created a bun and then surrounded the bun with plaits and swirls.


These are my step-by-steps:


Thursday 27 February 2014

The Little Mermaid - WIG 3

Today I began making number 3 out of 4 of the 'Little Mermaid' wigs! (to illustrate when the little mermaid is first given legs but lost her tail and tongue), this was quite a sculptural challenge and wig to create, to get the right shape I have used chicken wire...


 With this wig I faced some challenges as to how I could cover the chicken wire with hair, I found that backcombing the hair came in quite useful for coverage. In the end I had to backcomb and cover the wire with a layer of jumbo hair braid, before wrapping the hair of the wig around the wire form. I also tried using various braiding techniques including basket weaving and fishtail plaits but decided that the wig looked better and the hair could be used more efficiently without the use of plaiting.


Wednesday 26 February 2014

Wig Materials

Today I got some more wig materials, this time not hair or wool but things to stuff the hair with and to decorate e.g. Florist foam, glue, feathers and pins...


Wig Making Little Mermaid - WIG 2


I began styling my dark brown wig, into the second wig for my 'Little Mermaid' series, based on the dark fairytale by Hans Christian Andersen, 1836. Here are some step-by-steps! I’ve sectioned the hair appropriately for the style, and stuffed the hair with tights full of afro hair, as this was the lightest material I could find and although I want the wig to be big I don’t want it to be heavy or uncomfortable for the wearer. This is the wig for the sea witch. As you can see I began the wig in brown but then I decided this was the wrong colour for a sea witch.


I later decided that this wig would be better in blue/black rather than brown so quickly swapped over! 


 MUCH MORE SEA WITCH!!
 Here above you can see I had to add another level of padding around the fringe area to create the correct circular shape around the head.


 I then made a tenticle fascinator out of hair, by creating a mould out of bubble wrap with wire down the centre so the wrap could be bent and curved into the correct shape. whilst the hair was setting on to the mould I added more colours to the wig using jumbo braid hair in blue and purple.


 The hair was then evenly spread over the dome shape padding and pinned underneath like you would with a big bun hairstyle.


Tuesday 25 February 2014

WIG Websites

Today I looked into websites of other wig makers/designers and these were the ones I liked best, due to the standard of professionalism, clear layout and design.

Campbell Young Associates: 


 Kate Cusack:
 
Seema Chopra:
Yukiness:

 Wig Art:


Fonts! and Websites!

Whilst making all the wigs and planning the shoots I haven't forgotten that the aim of all this is to have a fabulous website to display it all on. Today I started to look into fonts in more detail, along with looking into website providers and builders.

Fonts!


Website building:

1&1:


Freeola:


123:


MrSite:


 4ormat: